
How to Customize Your Club: Edit Organization
How to Customize Your Club: Edit Organization
Getting your club set up the right way at the start makes day-to-day operations smoother. This guide walks through the essential settings under Edit Organization so your club is visible, organized, and ready to accept members, payments, and events. Use the steps below to configure visibility, contact routing, branding, locations, payments, and the management team.
Quick navigation: where to find your club
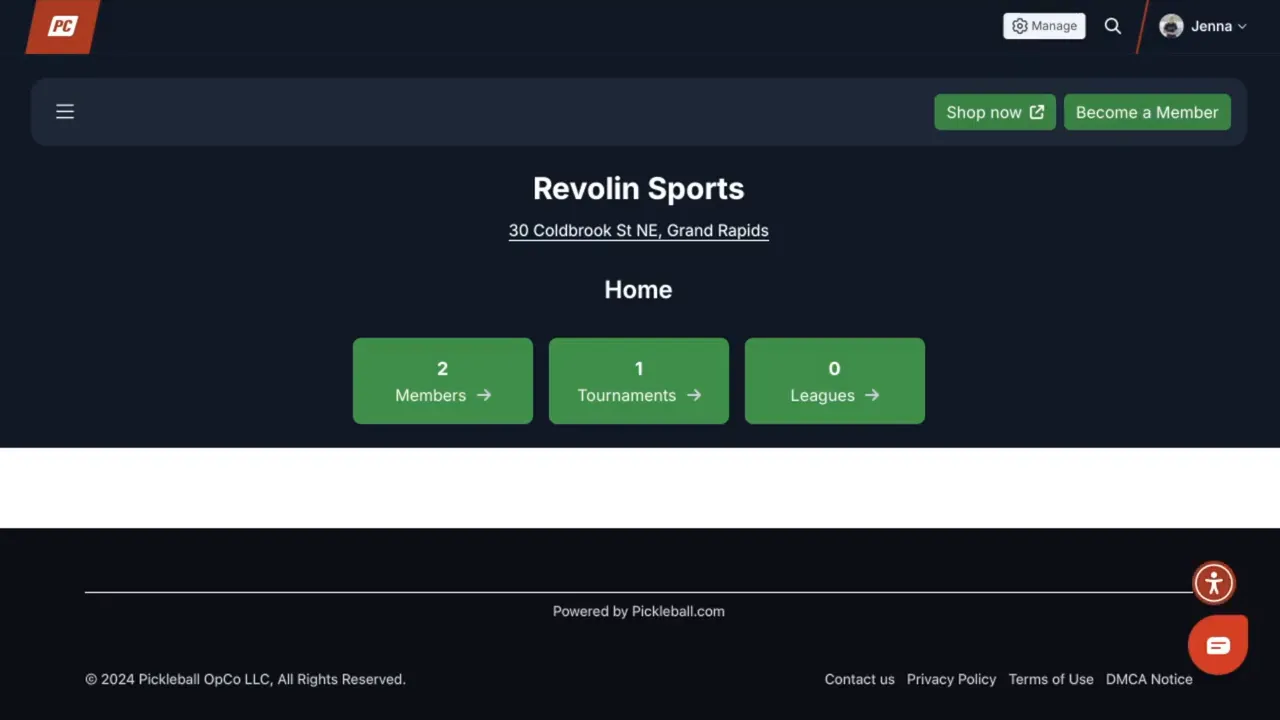
There are several straightforward ways to open your club settings. From the top-right of the platform you can click your name and choose My Clubs. Alternatively, visit your profile, scroll to Clubs, and select Managing to find the club. Once you see your club page, click Manage to open Edit Organization.
Edit Organization: the core settings
The first screen contains the most important global options. Configure these carefully because they affect how members find and interact with your club.
- Show to public — Keep this on unless you want the club completely hidden while you finish setup. As noted, "Show to public is used to allow club managers to finish the customization of their club before it's available to the public to view."
- Club type and name — Choose the most appropriate type (company, club, etc.). If you need to change the club name, contact support to avoid duplicate listings.
- Location and regional settings — Set country, state, time zone, language, and currency accurately. These control how dates, times, and payments are displayed.
- Billing emails — Invoices will be sent to the billing email on file. Make sure it points to the person handling finances.
- Emergency contact — Decide whether members must provide an emergency contact in their profiles.

Club membership and ratings
Decide whether your club accepts members and whether free memberships require approval. The platform defaults to using Duper rating as the primary rating system, but you can:
- - Set the minimum score accepted for club matches.
- - Toggle whether games only count toward club ratings if all four players are club members.
- - Include or exclude co-ed games.
- - Choose what rating system new members enter at using the drop-down.
Contact routing and links
Scroll down to set primary contacts and contact form routing. These fields determine who receives emails submitted through the club contact form.
- - For each subject area (registration, purchasing, general questions), enter the specific email for the person who handles that topic.
- - If left blank, messages will go to the primary club contact.
- - Use the final section to add links to your club store or social pages so members can easily find them.
Logo and branding
Branding helps your club look professional and creates trust. Upload a full logo and an abbreviated logo in the Logo page. Pay attention to file size and pixel requirements so images render correctly on public pages.
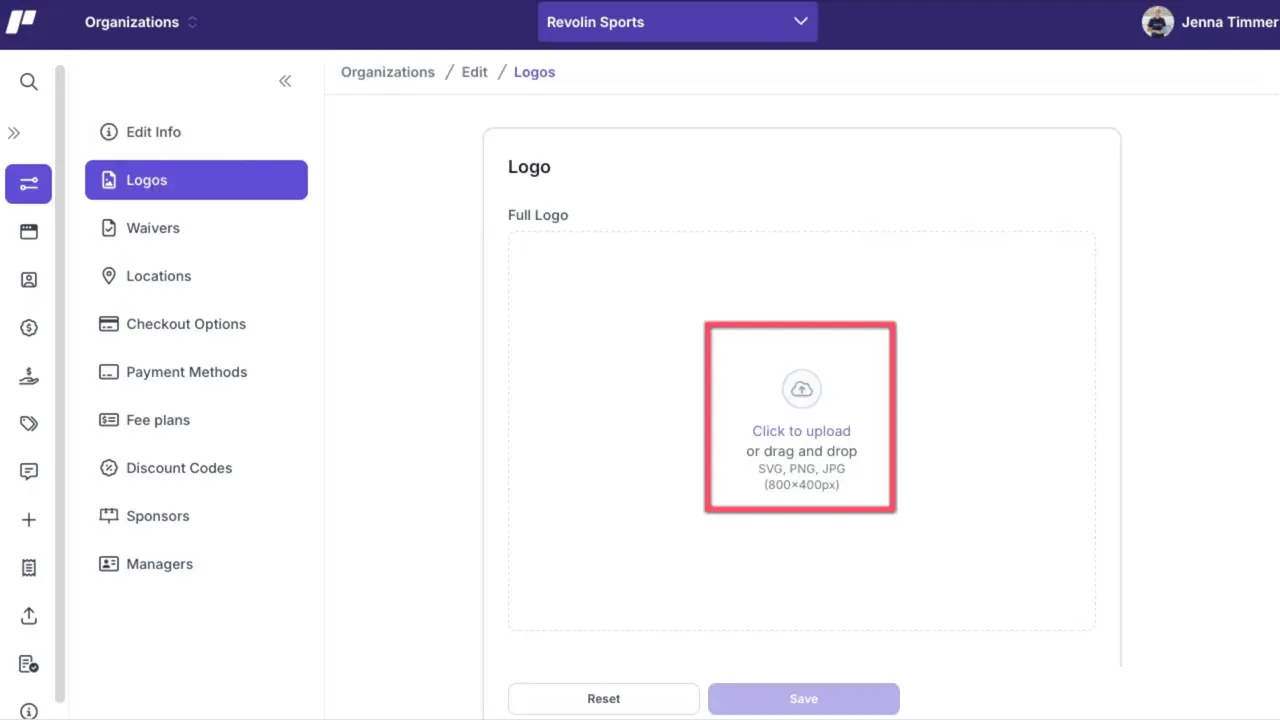
Once uploaded, check how the logos appear on your public club page and adjust if necessary.
Locations, waivers, and equipment
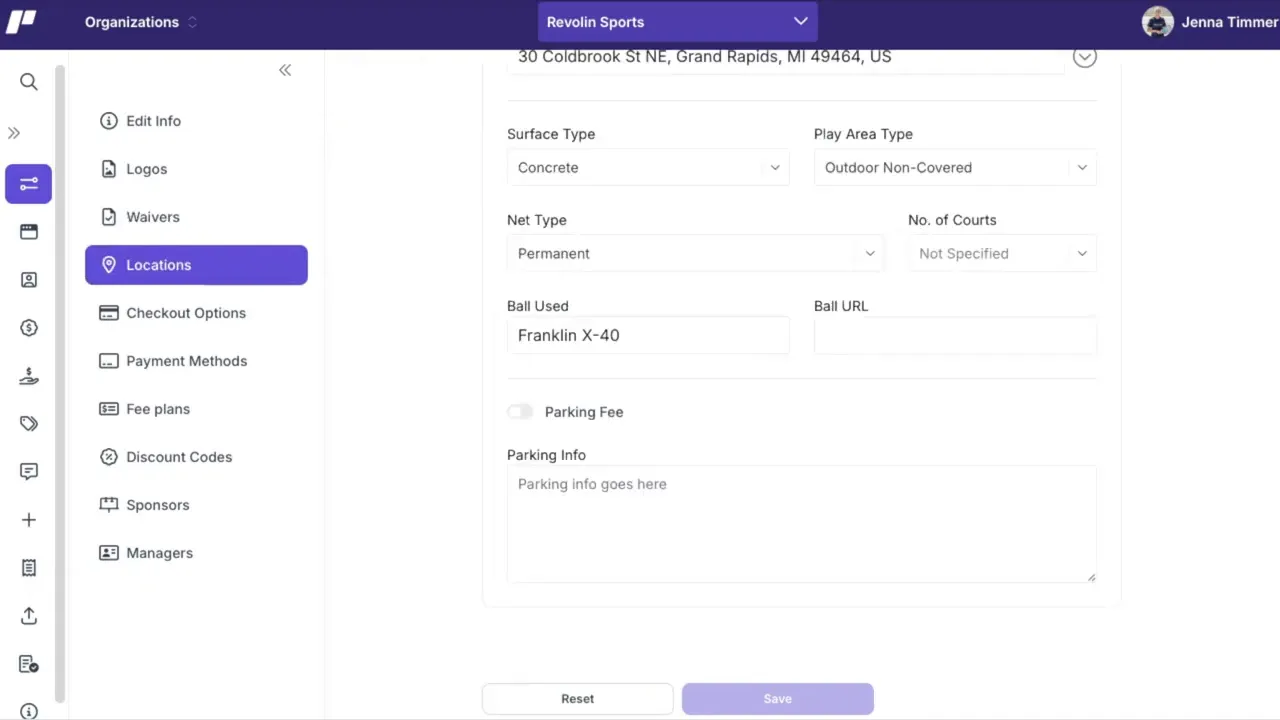
Accurate venue information matters for members and event organizers. Add or edit club locations to include:
- - Address and directions
- - Number of courts at each location
- - Preferred ball type used at each facility
Optionally attach a club waiver for players to sign. A clear waiver helps cover liability and sets expectations before events and leagues begin.
Payments and checkout: Stripe and stored payment methods
To accept payments for tournaments, memberships, and leagues, connect a Stripe account. This is the recommended checkout option for a smooth payment experience.
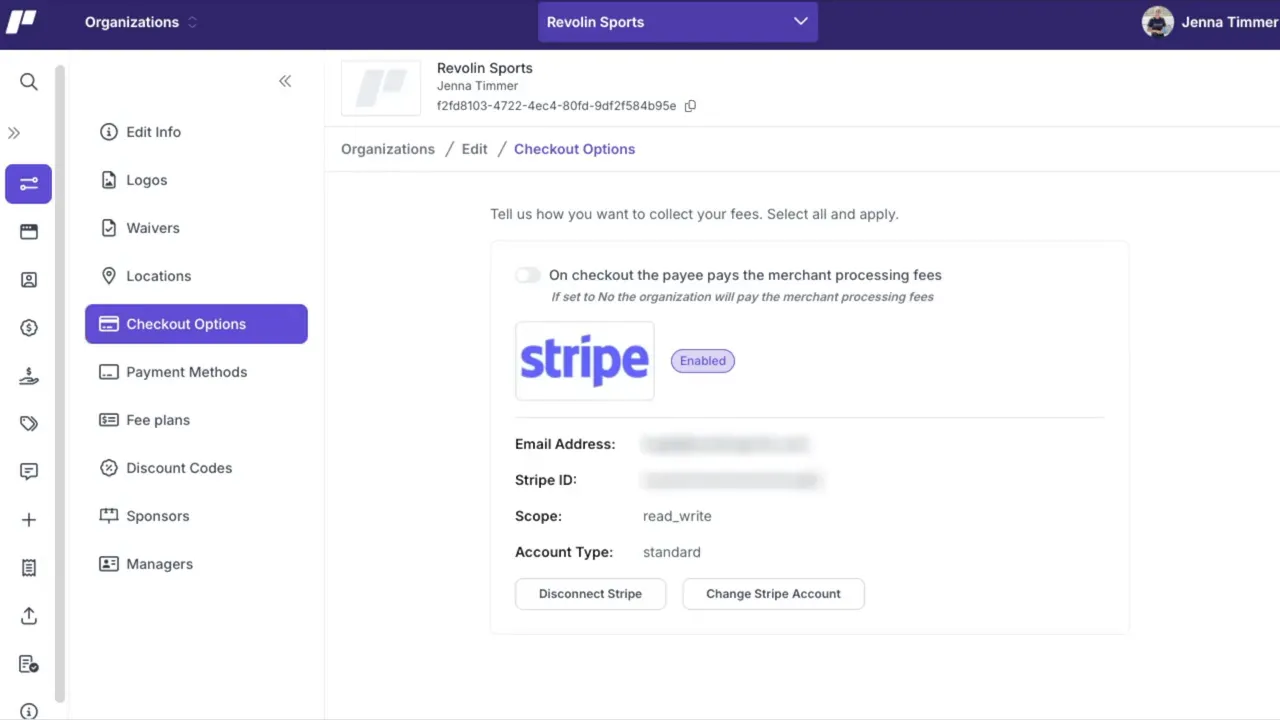
- Connect Stripe for seamless online transactions.
- Keep a payment method on file — each club should store a card that would be charged automatically if the club balance exceeds $250.
- Future fee plans — customizable pricing models and advanced fee plans are coming soon, allowing different pricing experiences for your products.
Discount codes, sponsors, and managers
Discount codes
Use discount codes to provide member savings on club memberships or events. You can create codes manually or have the system generate one for you. When creating codes, always set a usage limit and the start and end dates.
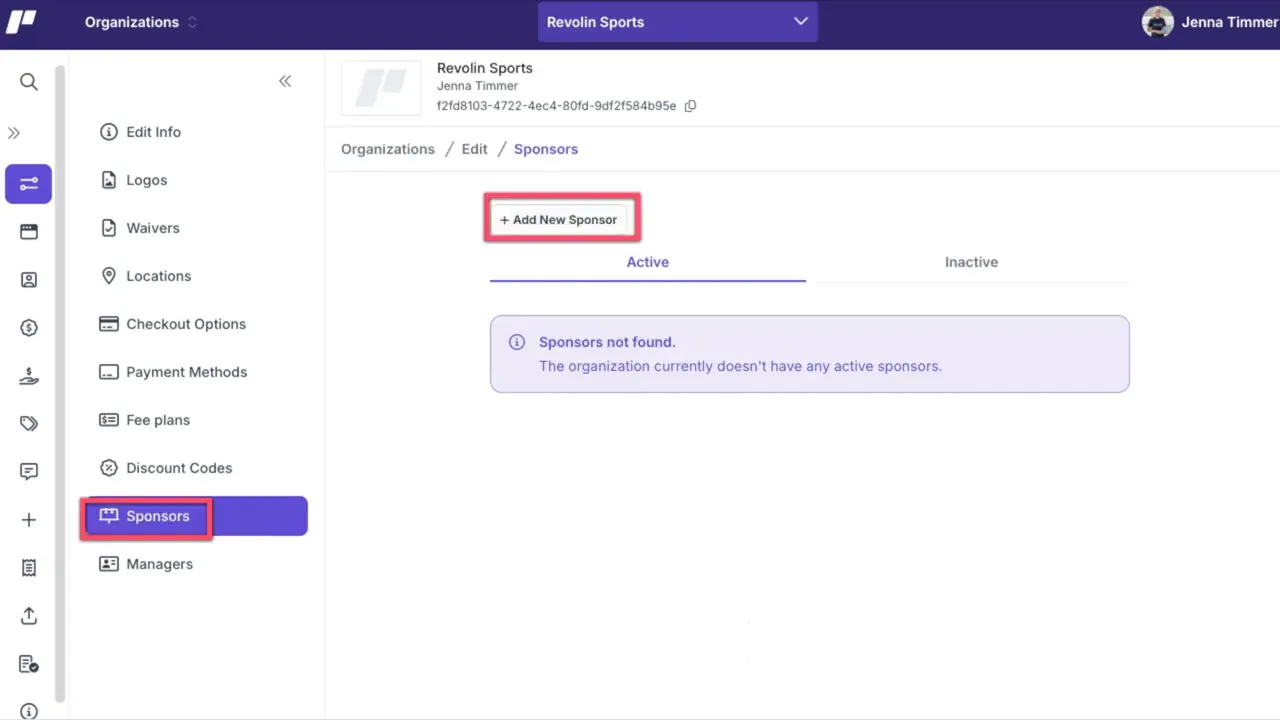
Sponsors
List club sponsors with their logo, title, website link, and sponsorship level. There is no limit to how many sponsors you can add. Sponsor listings help promote partners and bring credibility to events.
Club managers and roles
If others help run the club, add them as managers and assign the appropriate privileges. Click edit at any time to adjust permissions so each person only has access to the tools they need.
Practical setup checklist
- 1. Confirm show-to-public is enabled when you are ready for your club to be discoverable.
- 2. Verify country, time zone, language, and currency settings.
- 3. Set accurate billing and contact emails for finance and support routing.
- 4. Decide membership rules and rating options for matches and new members.
- 5. Upload full and abbreviated logos and preview the public page.
- 6. Add locations, court counts, and the ball used.
- 7. Connect Stripe and store a backup payment method.
- 8. Create discount codes and add sponsors.
- 9. Add any additional managers and configure privileges.
- 10. Click Save on each page before moving on.
Final notes
Thoughtful configuration up front saves time later. Small decisions — like how ratings are counted, which contact receives registration questions, and whether to require emergency contacts — affect member experience and administrative workload. Take the time to review each setting, upload branded assets, and make sure payment and contact information are current. With these foundational settings in place, your club will be ready to run tournaments, leagues, and events efficiently.
Where to get more help
For a step-by-step in depth tutorial, check out the full video below.